Vector vs raster. What’s the difference?

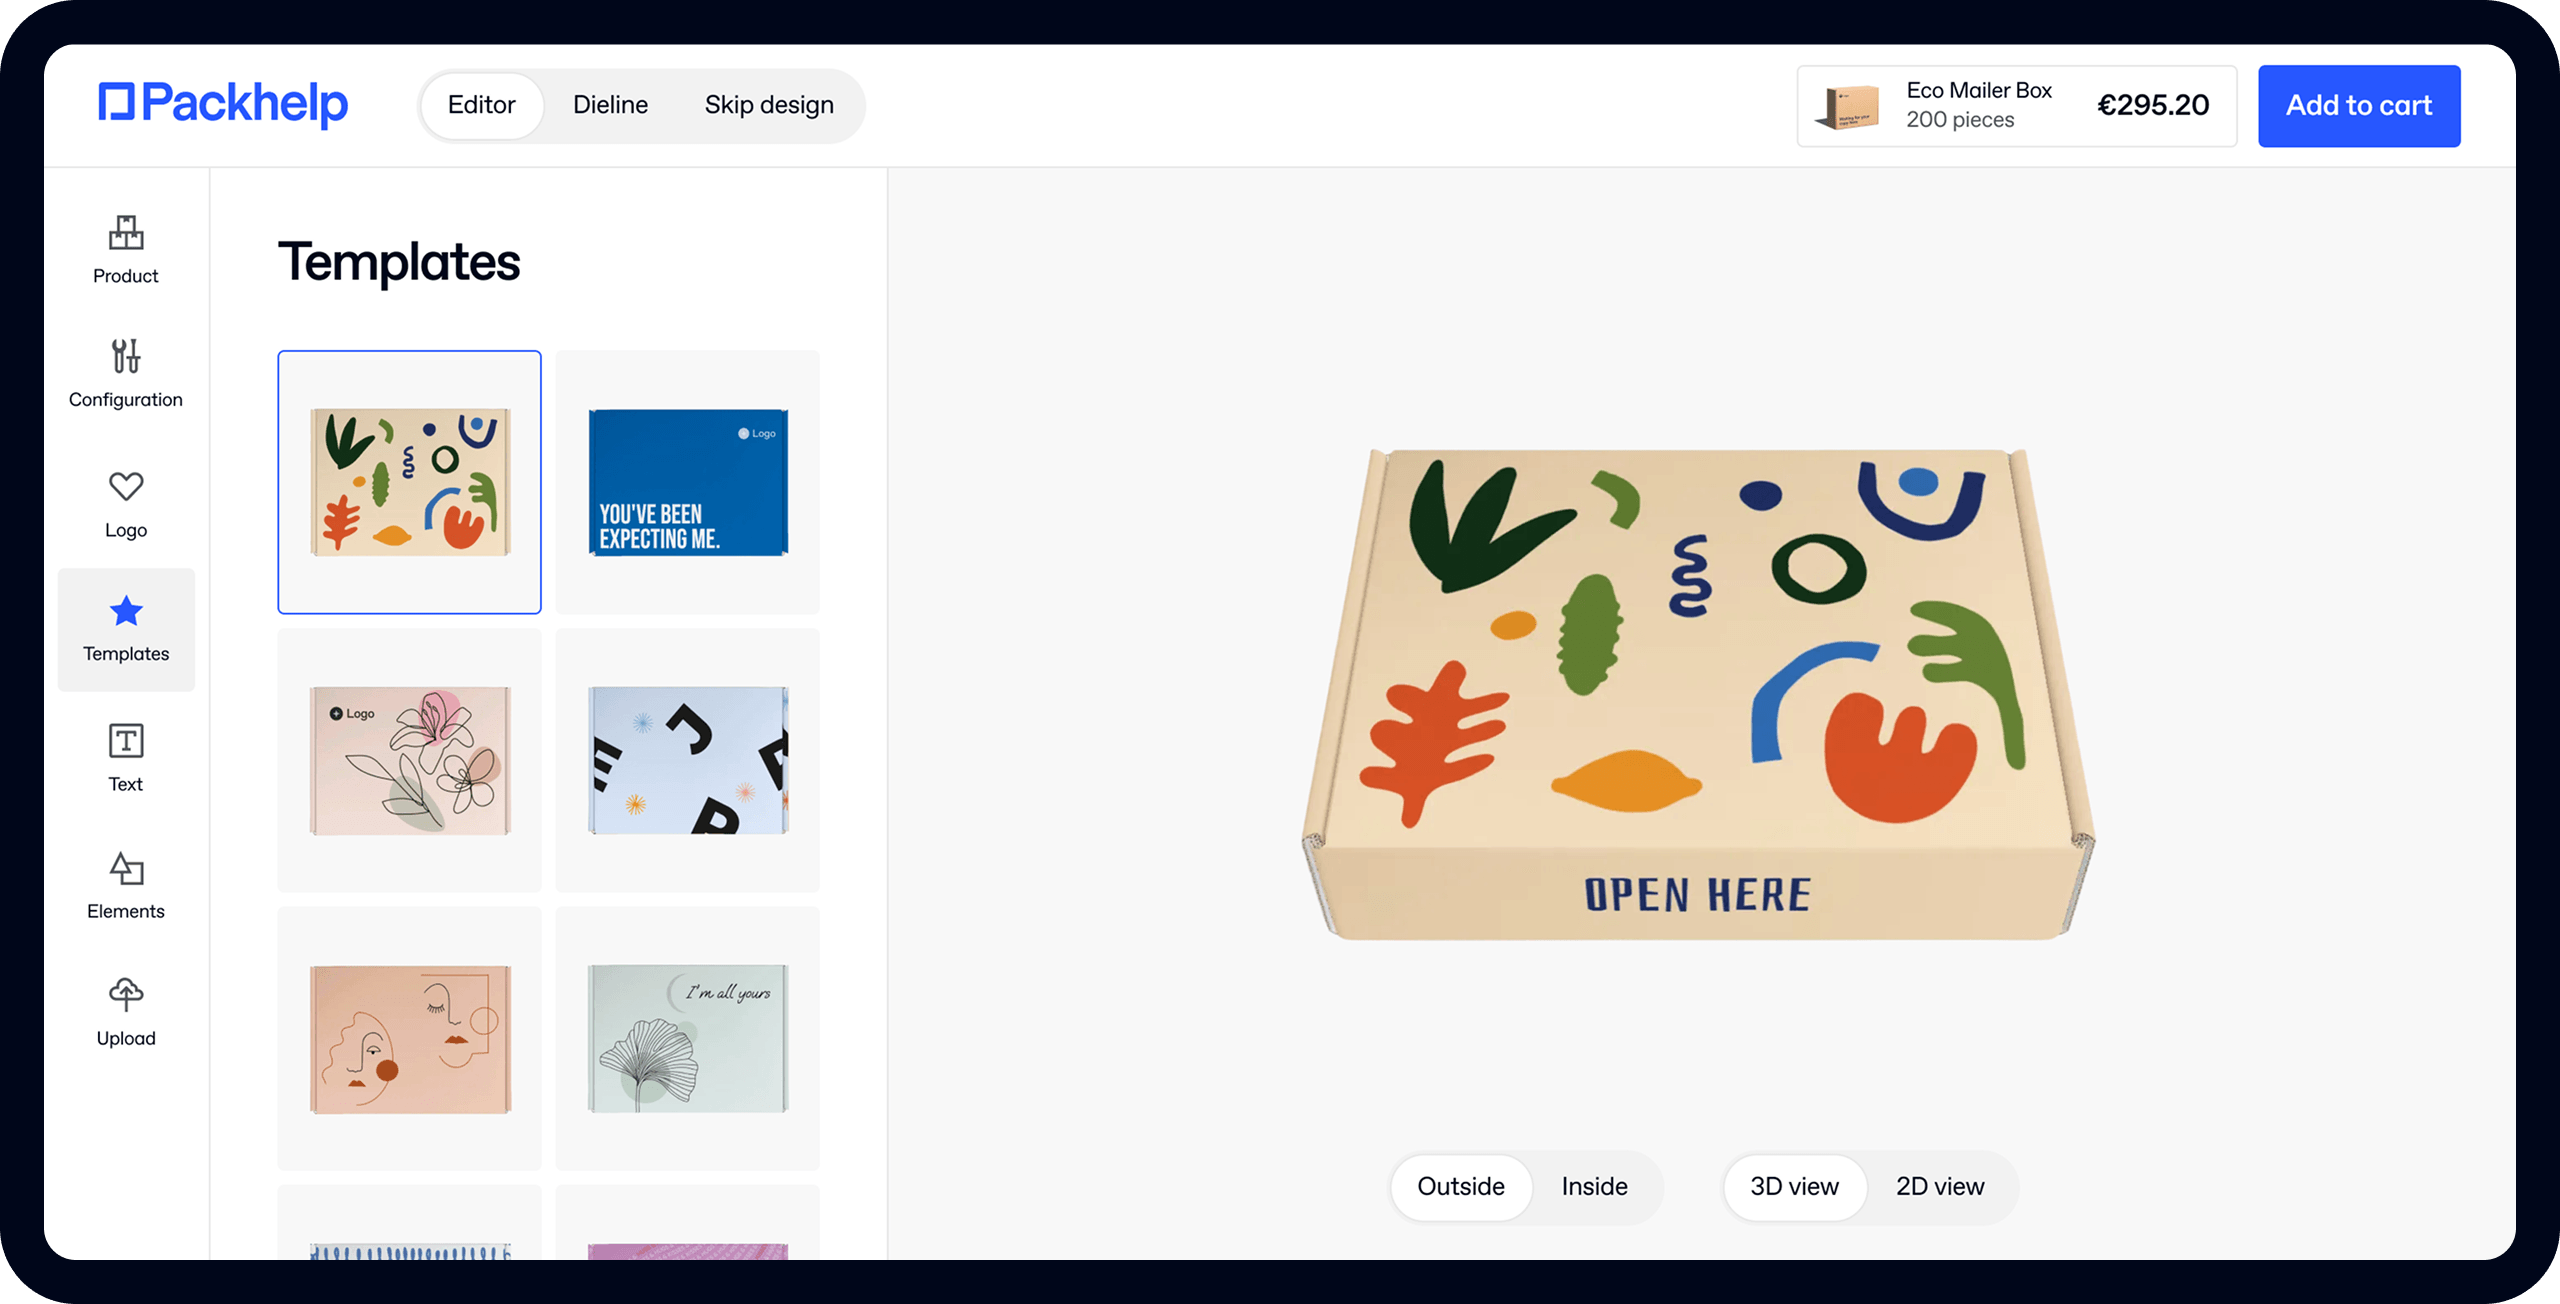
- 200+ templates & patterns
- Real time 3D packaging preview
- Upload logo and choose brand colours

Subscribe now! Receive 15% discount.
Don’t miss out – get 15% off your first order when you join the newsletter. It’s fast, free, and kinda smart.
You're now subscribed!
As you design boxes in our box editor you can come across the message “if possible, please use vector files”. What does this alert mean? How can you check whether you’re using vectors? And finally, is it really a must?
Vector graphics are one of the two basic types of computer graphics – along with raster graphics. The difference between them is related to the description of the image.
Vector graphics use geometrical shapes to describe the image (or blocks if we’re speaking of 3D graphics), such as line segments, curves, circles and polygons. Each graphic is described with parameters – the coordinates of the ends of the segment line, coordinates of the middle point and length of the radius of a circle and so on. Additional pieces of information are, for instance, the thickness and the colour of the line, the filling colour or transparency level. On the other end, there’s raster graphics. In this instance, the image is described through dots situated on the rectangular grid. When the images are displayed on the screen, we refer to dots as pixels. The graphics are therefore described through a map of pixels that are characterized by three values – height, width and colour.
This is the way digital cameras save photos. We can assume that raster graphics are the most popular type of graphics on the web – practically each photography on websites or social media is of raster type. Even more – each JPG, PNG, GIF or BMP file is of raster type.
Vector graphics may be found in SVG files, as well as in some PDF, EPS or AI (Adobe Illustrator) files, provided they’re saved in an appropriate form. Fonts are also vectors that can be displayed on your smartphone, tablet or an e-book reader. Thanks to this fact, they can be scaled to any size without a quality loss.

This is the idea which stands for vector graphics. Thanks to the fact that the image is described with coordinates, a small file may contain high resolution graphics. Vectors are used to design logos, as such graphics may be scaled almost indefinitely. A PDF not exceeding 1 MB may easily be printed in large formats or used in a spot aimed for 4K television.
If we wanted to use the logo saved in PNG in the same way, we’d get a blurred image. The software responsible for magnifying the image, once it exceeds the original graphics size would have to “imagine” the missing pixels that would be put in between the original ones.

Here comes the tricky bit: vector graphic image is displayed neither on the screen, nor in print. An LCD or LED display is in itself a pixel map – it displays a specific number of points horizontally and vertically. For instance – 1920 x 1280 (for Full HD displays). In raster graphics it gets much easier. A 100x100 pixel file will occupy 100x100 pixel-sized square on the screen. At least theoretically, as 7 years ago Apple introduced its iPhone 4, and MacBook Pro with Retina displays shortly after, which messed it all up a bit. But we’ll get back to it in a minute.
What if we want to display a vector file on a display like this? It has to be rasterized by the graphics card. Thanks to this process, geometrical shapes are presented in the form of pixels. The more pixels per inch on the screen, the better the representation. Surely, a perfect result is impossible to achieve, but human eye has limited possibilities and cannot distinguish between the density of the specific points from a certain extent. For this reason, the image on the high-res screens is so sharp. The display of the previously mentioned iPhone 4s has four times more pixels than its ancestor. It’s not surprising that the text displayed on its screen was so sharp.

Things look similar when it comes to print. Digital print and offset devices print a specific number of dots on the specific surface. 300 DPI (dots per inch) is considered to be the industry standard, which we at Packhelp also comply with. Therefore, if you’re designing your boxes on our cutter, save it in the format specified by the instructions, i.e. 300 DPI. But you probably know about this already, don’t you?
Want to add a custom design to one of our products? Get a quote!
What about the Wizard? Browsers ignore the info about DPI in graphic files, but you don’t have to worry about it – you just need to prepare your project in the dimensions specified by the instructions. Let’s look at the popular F52 box. The size of its upper side is 25,606 cm x 19,329 cm. 1 inch is approximately 2,54 cm, so its 10,081x7,61 inches accordingly. If you want to use graphics to cover the entire upper side it has to have the following dimensions: 3025 x 2283 pixels. If you divide 3025 by 10,081, you’ll get 300,07.

If you have vector files (formats accepted by our Wizard are PDF and SVG), we strongly advise that you use them. It’s important with logos and texts as well as in the project that you’ll be printing on an offset device. These require a special set-up – during the production process, four templates are generated, and each is dedicated for printing in a different CMYK colour. You can read more about this topic in our post regarding the offset print.


