


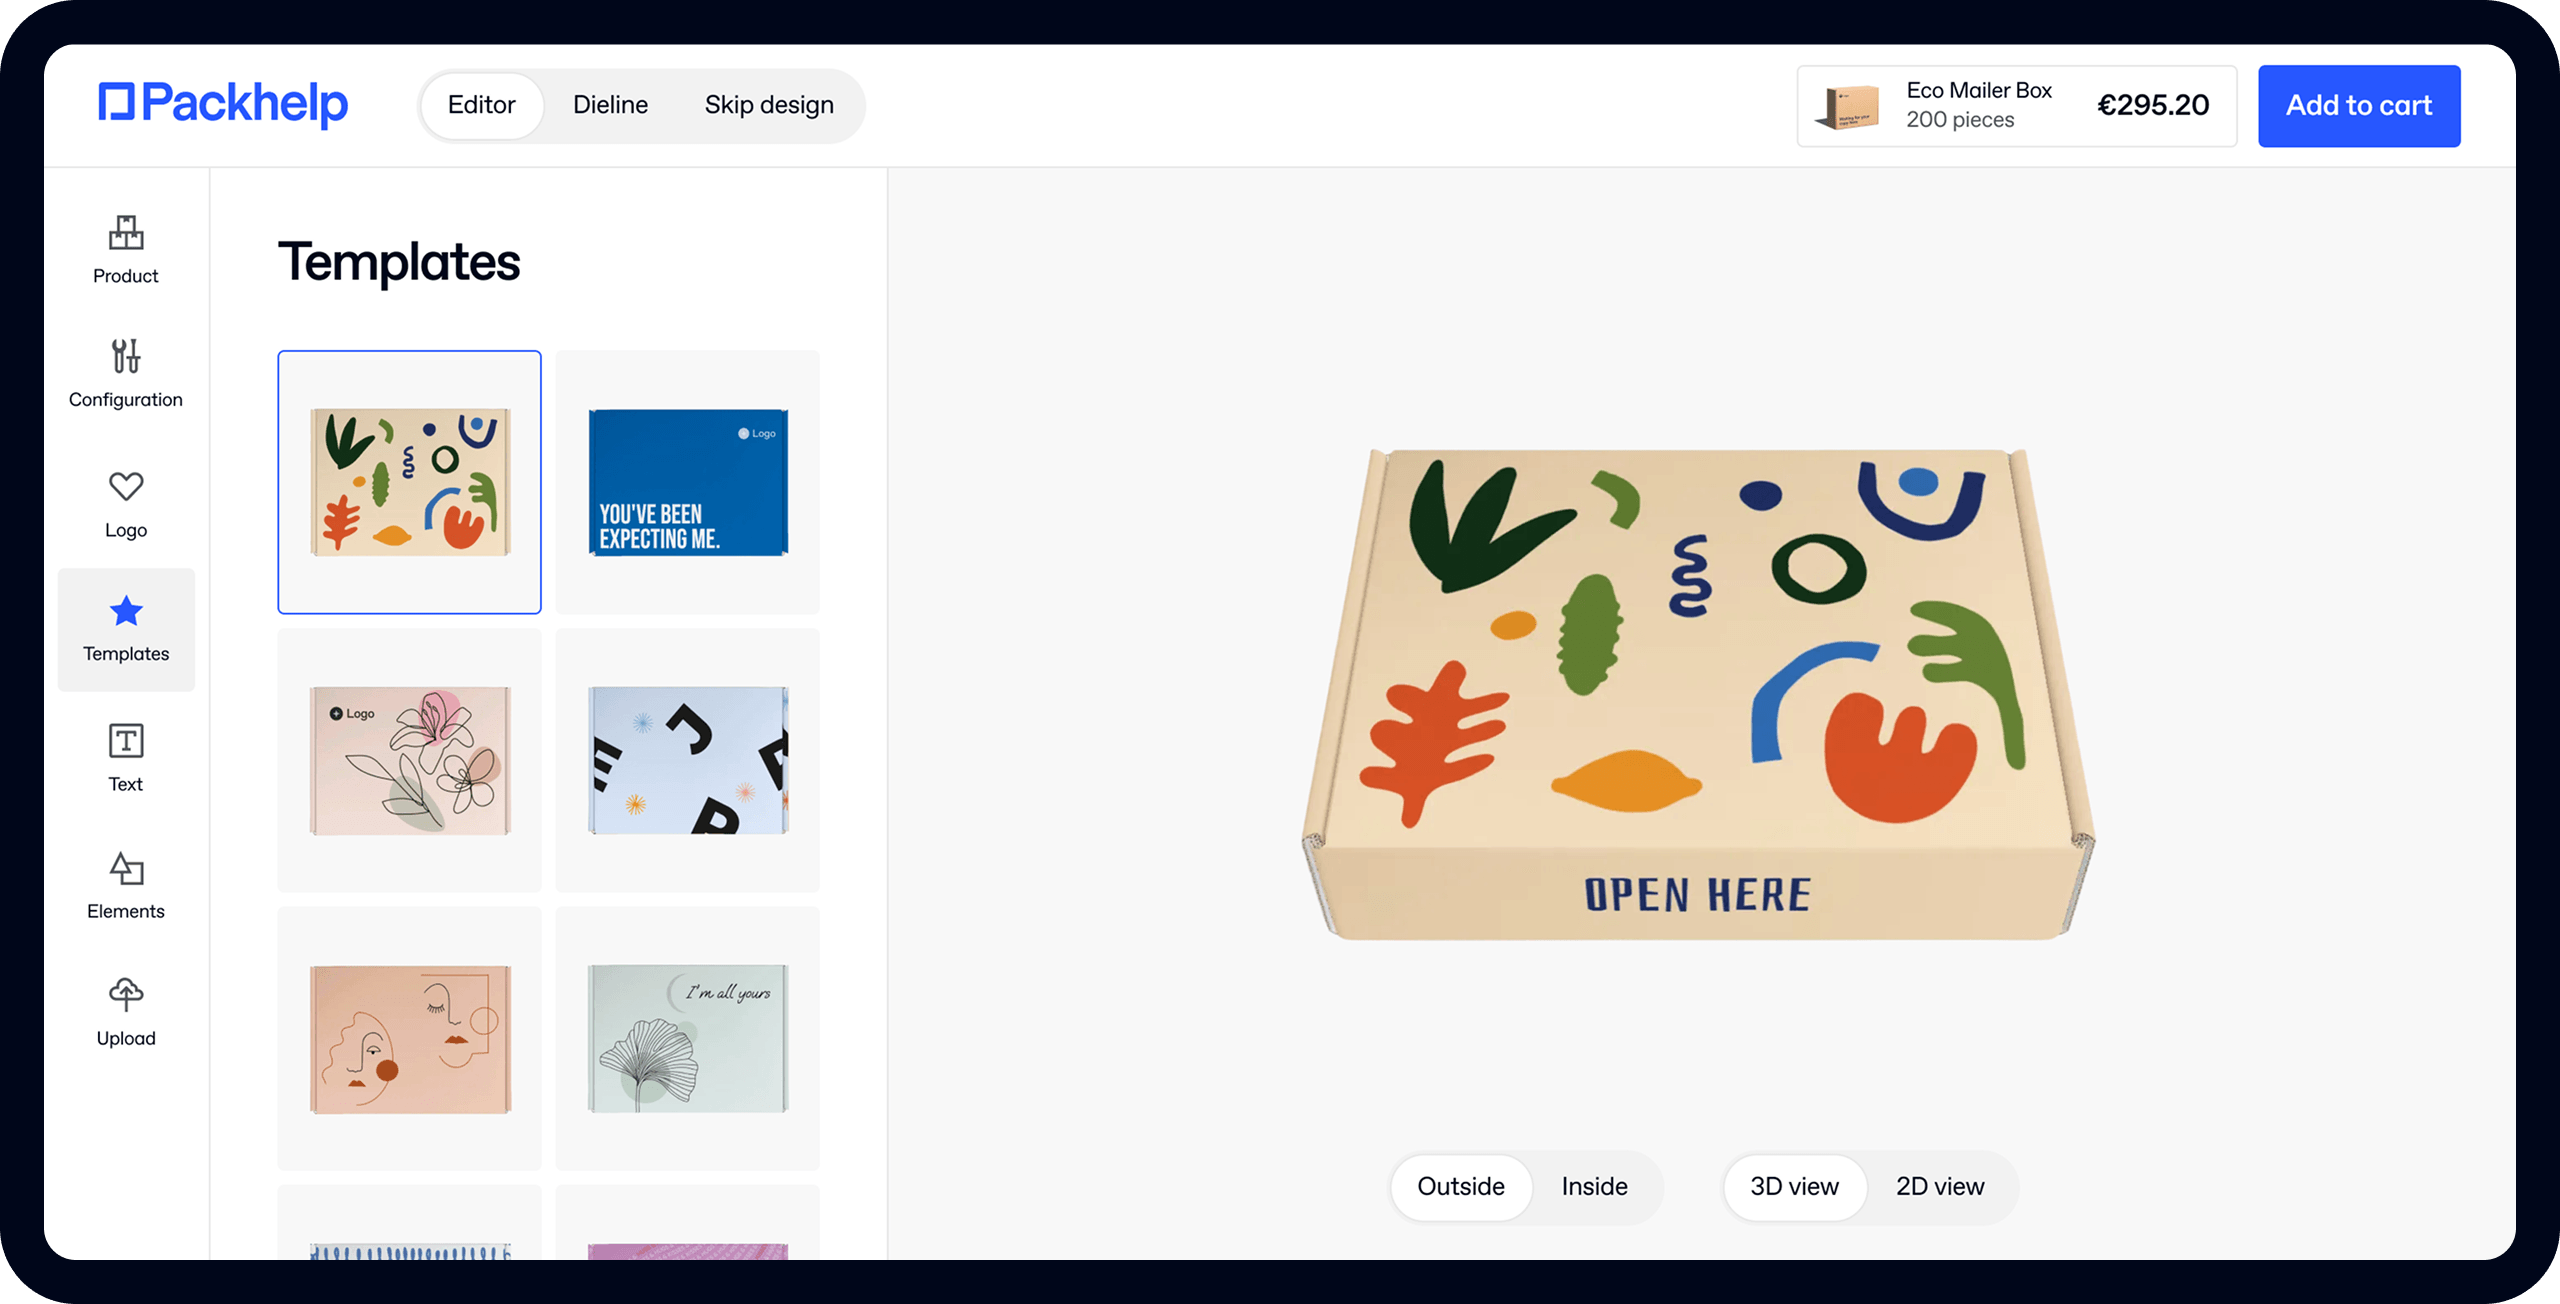
Never designed packaging on a dieline? Read this:

- 200+ templates & patterns
- Real time 3D packaging preview
- Upload logo and choose brand colours
Subscribe now! Receive 15% discount.
Don’t miss out – get 15% off your first order when you join the newsletter. It’s fast, free, and kinda smart.

You're now subscribed!
In this article:
This article will help you understand how to design packaging on a dieline. It assumes that you’re ready and eager to get your creative juices flowing and start the process of packaging design.
It will not explain what a dieline is, when to use one, or what a dieline is used for.
Requirements:
- Your Packhelp dieline
- Adobe Illustrator
- Design assets (logos, shapes, symbols, patterns etc)
Downloading your Packhelp dieline
In the video below, you’ll see how to download the PDF dieline for a full-colour F45 mailer box.
NOTE: In the video, the PDF dieline will be downloaded. We suggest you download the Adobe Illustrator file to design directly onto the dieline using Adobe Illustrator.
Please remember this screen that you downloaded the dieline from:

It’s from this screen that you’ll upload your completed dieline when you’re finished designing.
It’s here that you can also specify which protective coating you’d like added to your print - a glossy foil, a matt foil, and if you’d like the box printed white inside.
You can also download our logo that shows you’re supporting reforestation and have offset your packaging production by planting two trees with your order. Learn more here.
Open the AI file in Illustrator and you’ll see this:

It’s important to understand what these lines mean:
Line types in dielines
Red lines represent fold lines or edges. When your box arrives, these red lines will come creased and ready to fold.
Green lines represent cut lines. Once your packaging is printed, a large machine (called a die cutter) will cut your box along these lines.
Your packaging is printed on a large machine that’s run at a very high speed. Due to vibrations, temperature changes and many other factors, designs may shift a few millimetres. The green line is used to create 2 other areas - bleed areas and safe areas.
Bleed areas
Your design is printed on a large piece of cardboard then cut into shapes indicated by the green lines on the dieline. Therefore, any design assets like shapes and patterns should be extended over the green line by 5mm. This ensures that your design will be printed should the box move only a fraction during the printing process.

Safe areas
We also recommend that you have an 8mm ‘safe area’. This 8mm area is a line inside the green line, in which no text, logos, symbols or other elements are placed. This means that in the rare case that your design does shift slightly, no important elements are printed over the fold line or a cut line.
Dielines & Adobe Illustrator
First, let’s get this out of the way:
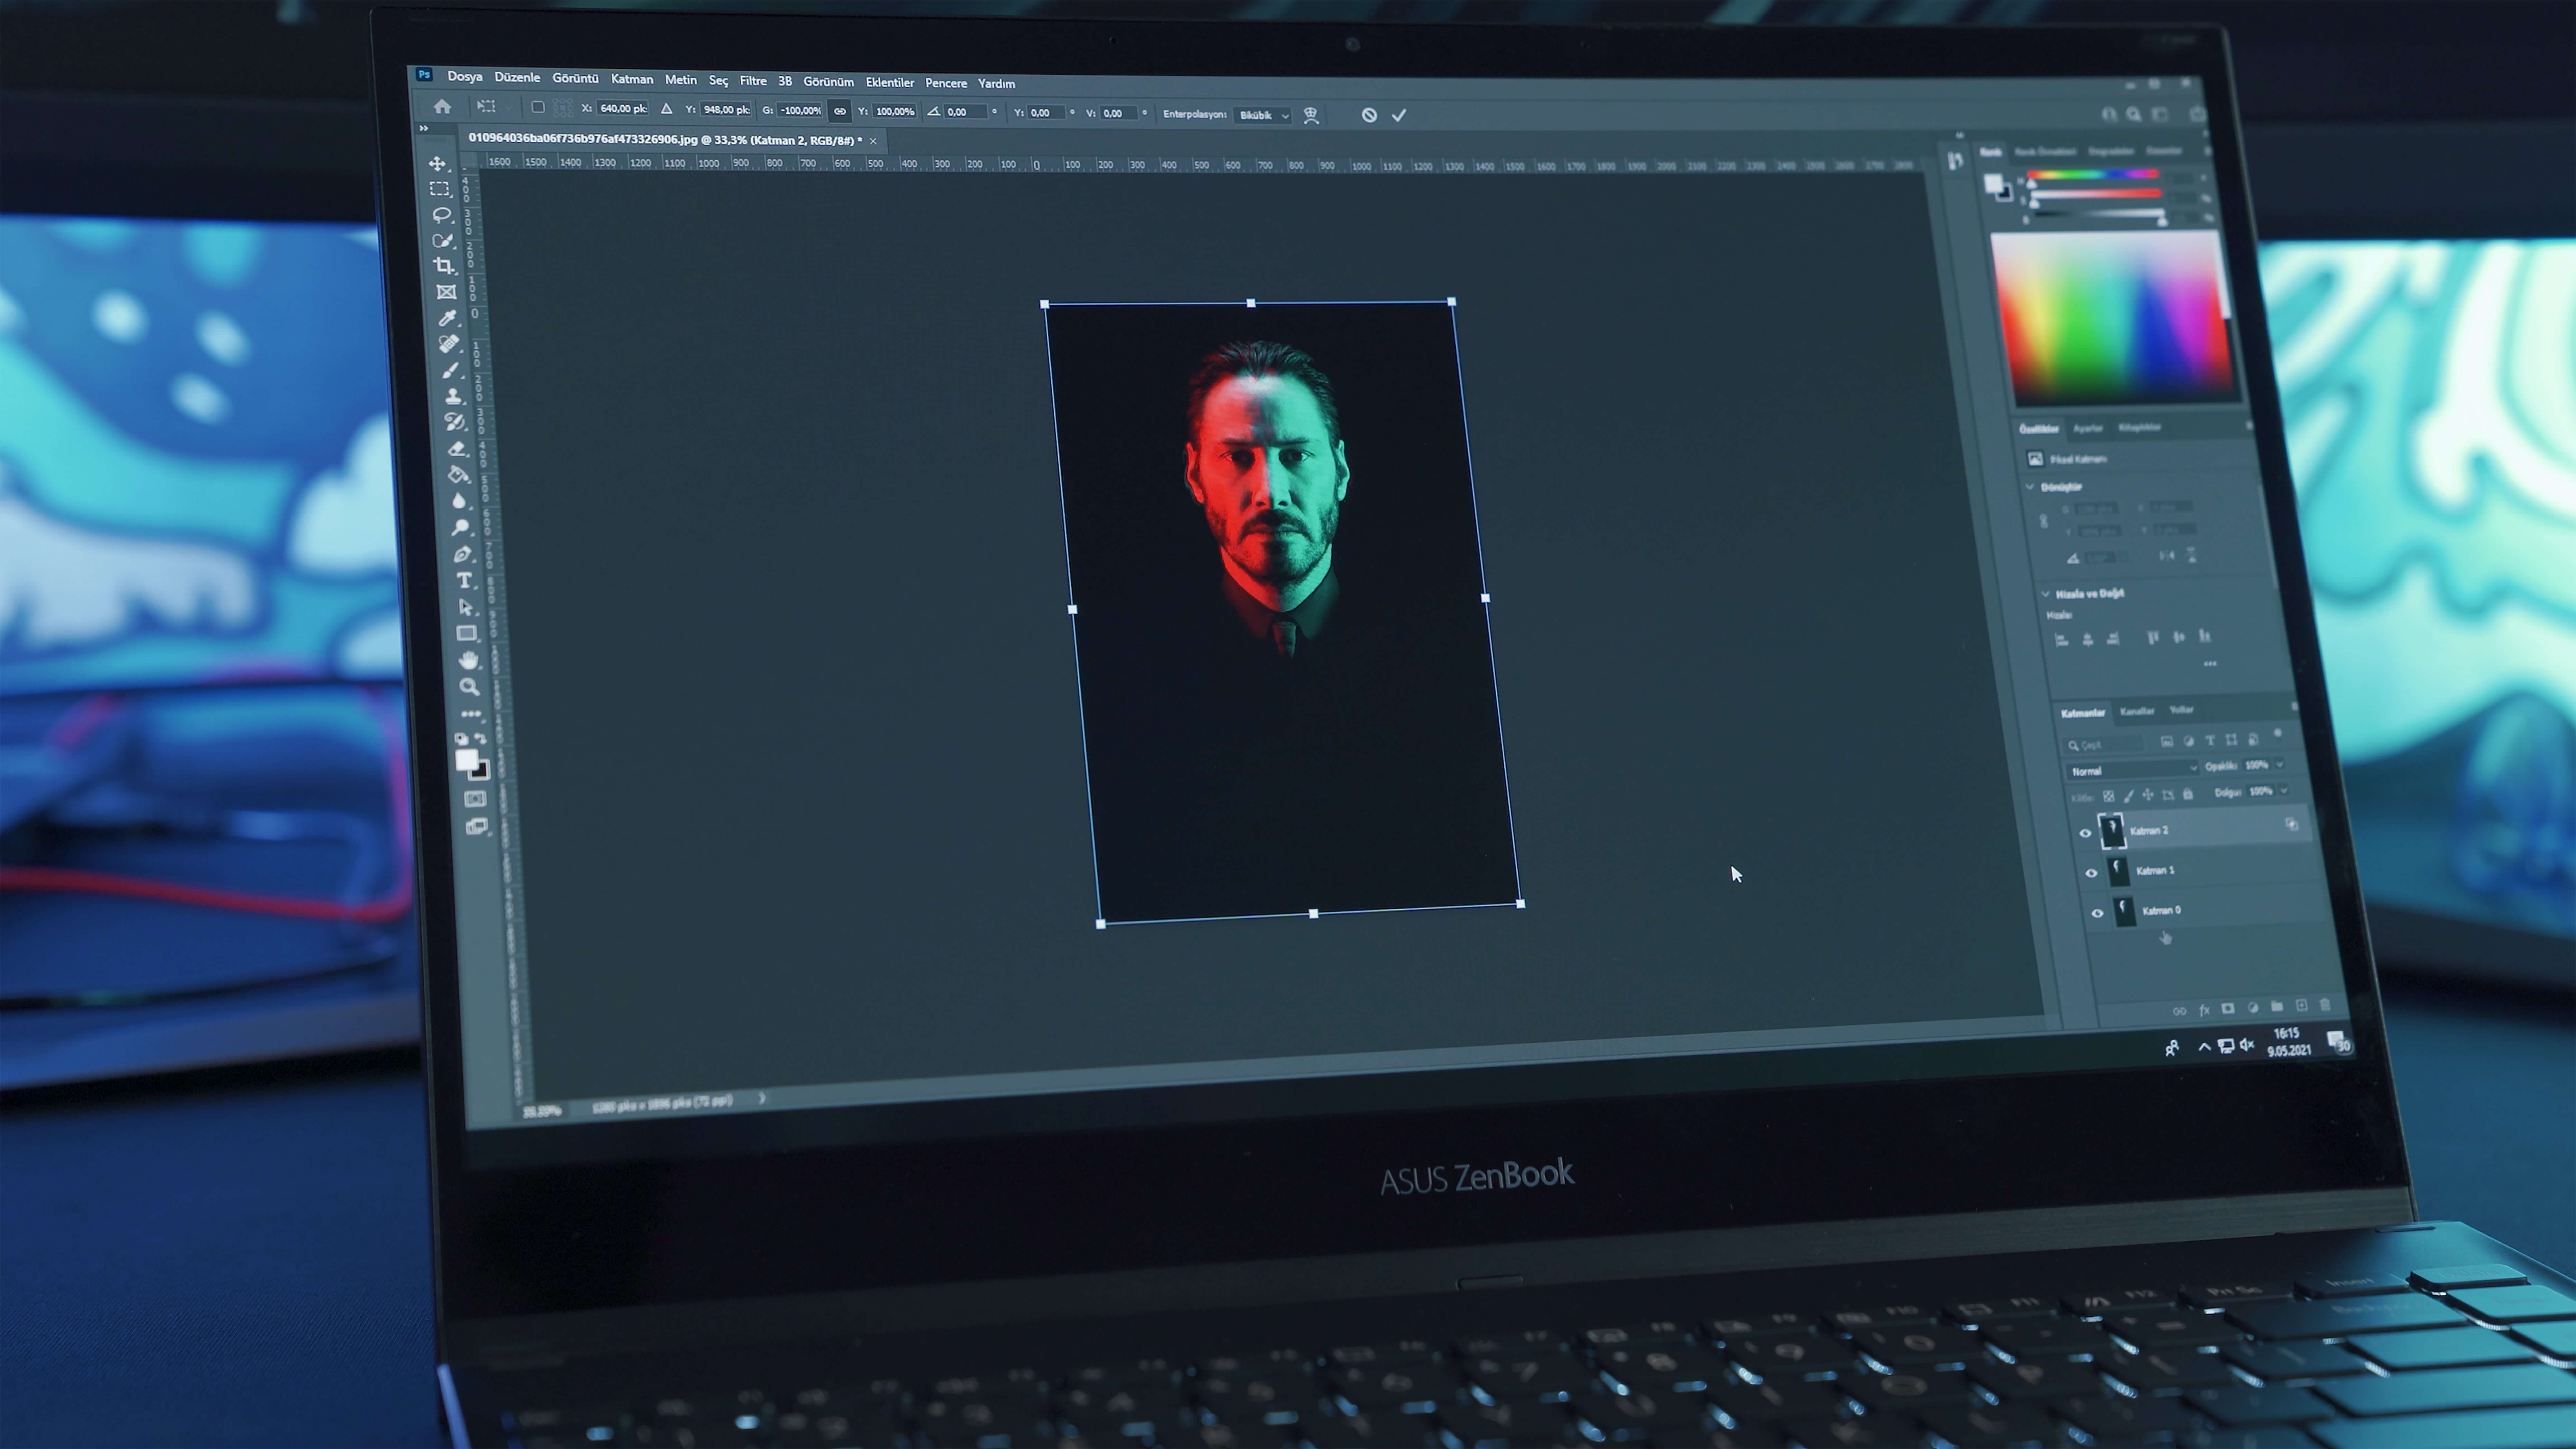
Why can’t I use Photoshop to design on a dieline?
File types.
That’s the short answer. Here’s the longer answer.
Print houses need vector files, and you can’t use photoshop to edit vector files.
To the unknowing eye, yes, vector and raster (the alternative) look the same.
But vector files are made up of loads of little mathematical calculations that digital printing machines can easily understand.
This means that your design can be upscaled, split up into different colour palettes and broken down into other elements in order to be printed, without any quality being lost.
Tips for designing on a dieline
Now with your dieline opened in Illustrator, it’s time to start designing! Here are some general guidelines:
Design Best Practices
There are a few best practices or rules of thumb when it comes to digitally designing something that’s going to be physically printed.
Here’s a list of rules that you must abide by when designing packaging:
Text
Keep text at 7pt or higher.
Graphics
Vectors print much better raster graphics. If using photography, it must be 300dpi or higher.
Full-Colour Boxes
Use any CMYK combination. It’s not possible to print Pantone Colours.
Lines
Your lines should be at least 0.5pt wide.
Blacks
There’s a difference between rich black and 100% black. What looks black on your monitor may come out as a dark grey or even blueish, if not adjusted correctly.
- Regular black has CMYK values of: C = 0, M = 0, Y = 0, K = 100.
- Rich black uses CMYK values of: C = 60, M = 60, Y = 60, K = 100.

For black elements use the Rich Black CMYK mix: 60% 60% 60% 100%
If you’re designing on our Eco & Eco White Boxes, it’s either Black or transparent. Use Black K 100% or 0%. All shades of grey won’t print properly.
Learn more about printing blacks
Turn on gridlines and rulers in Illustrator
Hit CTRL/CMD-R to turn on rulers. This way, you’ll be able to see how far away from an edge or other element you’re currently working with is.
Create a physical version
If this is your first time creating any type of packaging, it might pay to sit down with a piece of cardboard and a sharp scalpel and cut out the dieline yourself.
This ensures that you have a physical representation of what you want your finished box to look like.
Think about your finishes and materials
A shiny finish or something non-reflective?
Gloss and matt finishes have a huge impact on the overall look at feel of your packaging design.
Unfortunately, neither of these ‘feels’ can be represented on a flat, 2D dieline.
UV varnishes and spot finishes are possible - reach out to our support team to make this happen.
Adding a pattern to your dieline in Illustrator
A pattern that takes up every surface of your box is a pretty interesting and eyecatching way to design packaging.

Get inspired with our Design Showcase
Lock the dieline layer and select the ‘artwork’ layer and place it at the bottom of the layer list.

With the ‘artwork’ layer selected, use the Rectangle Frame Tool (M) to create a rectangle over the entire dieline, ensuring it goes up to the bleed lines.

Next, click File-> Place and choose the pattern that you’ve created elsewhere or downloaded. Click open and the image will fill up that entire rectangle you just created.
Now it’s a matter of adding other design elements like logos, copy and anything else to make your packaging look how you want it to.
For more information on designing packaging using a pattern, take a look at this article
Re-uploading your dieline
When you’re done designing your dieline, you’ll need to export it as a PDF or an AI file. There’s no real difference between the two from hereon in.
Save or export your design as you prefer, and then head back to the page from where you initially downloaded the dieline.
Our packaging design experts will go over your design and make sure that everything is perfect. They’ll make changes to your dieline if there are any to be made, but you will have to give the final approval before anything goes to print.
The next step is to select any add ons, like gloss or matt finish or white printed on the inside.
At the bottom of the window, confirm the quantity that you’d like, and then hit ‘Add to cart’. The checkout process is not unlike any other ecommerce store.
Conclusion
Once you’ve placed your order for your packaging, it’s now a matter of waiting for it to be printed and to arrive!
Your boxes will come flat and unfolded, so be sure that you have enough space to store them and set up an area where you can fold them.


