


































Everything You Need To Know About Packaging Finishes

- 200+ templates & patterns
- Real time 3D packaging preview
- Upload logo and choose brand colours
Subscribe now! Receive 15% discount.
Don’t miss out – get 15% off your first order when you join the newsletter. It’s fast, free, and kinda smart.

You're now subscribed!
In this article:
As a leading packaging manufacturer, Packhelp has an almost endless combination of finishes that you can use to make your packaging extra special.
But because these options are entirely customisable, they’re a little difficult to showcase and show you exactly how they’ll look on your packaging design.
In speaking to the Packhelp sales team or in learning more about packaging, you may have heard a lot of these terms, but not quite know exactly what that term means.
This article will define a lot of those terms, and help you make a more informed decision about taking your packaging to the next level.
Lamination
Also called foil or film, lamination is the top coating of paper that’s applied to your packaging.
This printed layer covers the entire surface of your box, sometimes inside and out. This material isn’t recycled but adds extra strength and durability.
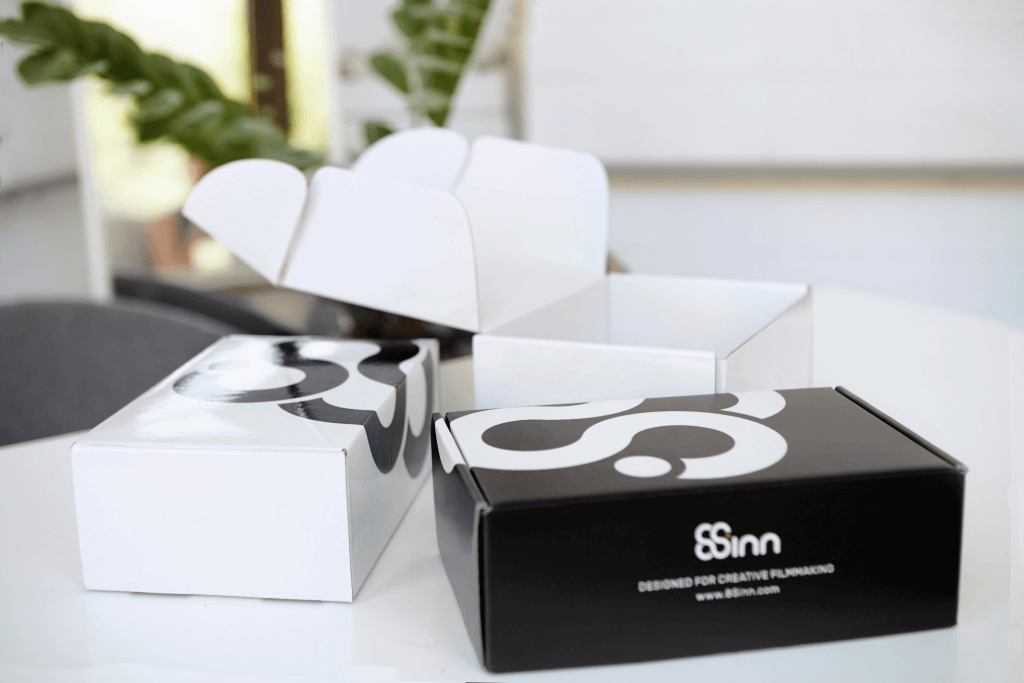
Lamination provides a number of benefits. It protects your print from wearing off and also prevents the cardboard underneath from tearing and absorbing moisture.
This lamination layer can also have 2 finishes or foils applied to the top of fit, gloss or matt.
Gloss foil
Gloss foils add extra stiffness to your packaging. The gloss layer also makes colours more vivid and eye-catching, adding saturation to the print. It also makes your packaging splash and dustproof.

Lamination can be done on all types of:
- Product boxes
- Corrugated cardboard
- Custom Labels
- Rigid magnetic boxes
- Tubes
Matt foil
A matt foil is a great way of adding a little sophistication to your packaging design.
This finish adds a smooth and silky touch to your packaging and makes it less reflective and anti-glare. A matt foil works well with spot varnish or embossing.

Learn more about Snakehive's packaging
Soft-touch foil
Soft-touch foil, sometimes called velvet foil, is characterised by a deeper matt effect and is more scratch-resistant.
It adds an extra level of class and sophistication and works great with dark colour palettes and minimalist designs.
Metalised foil
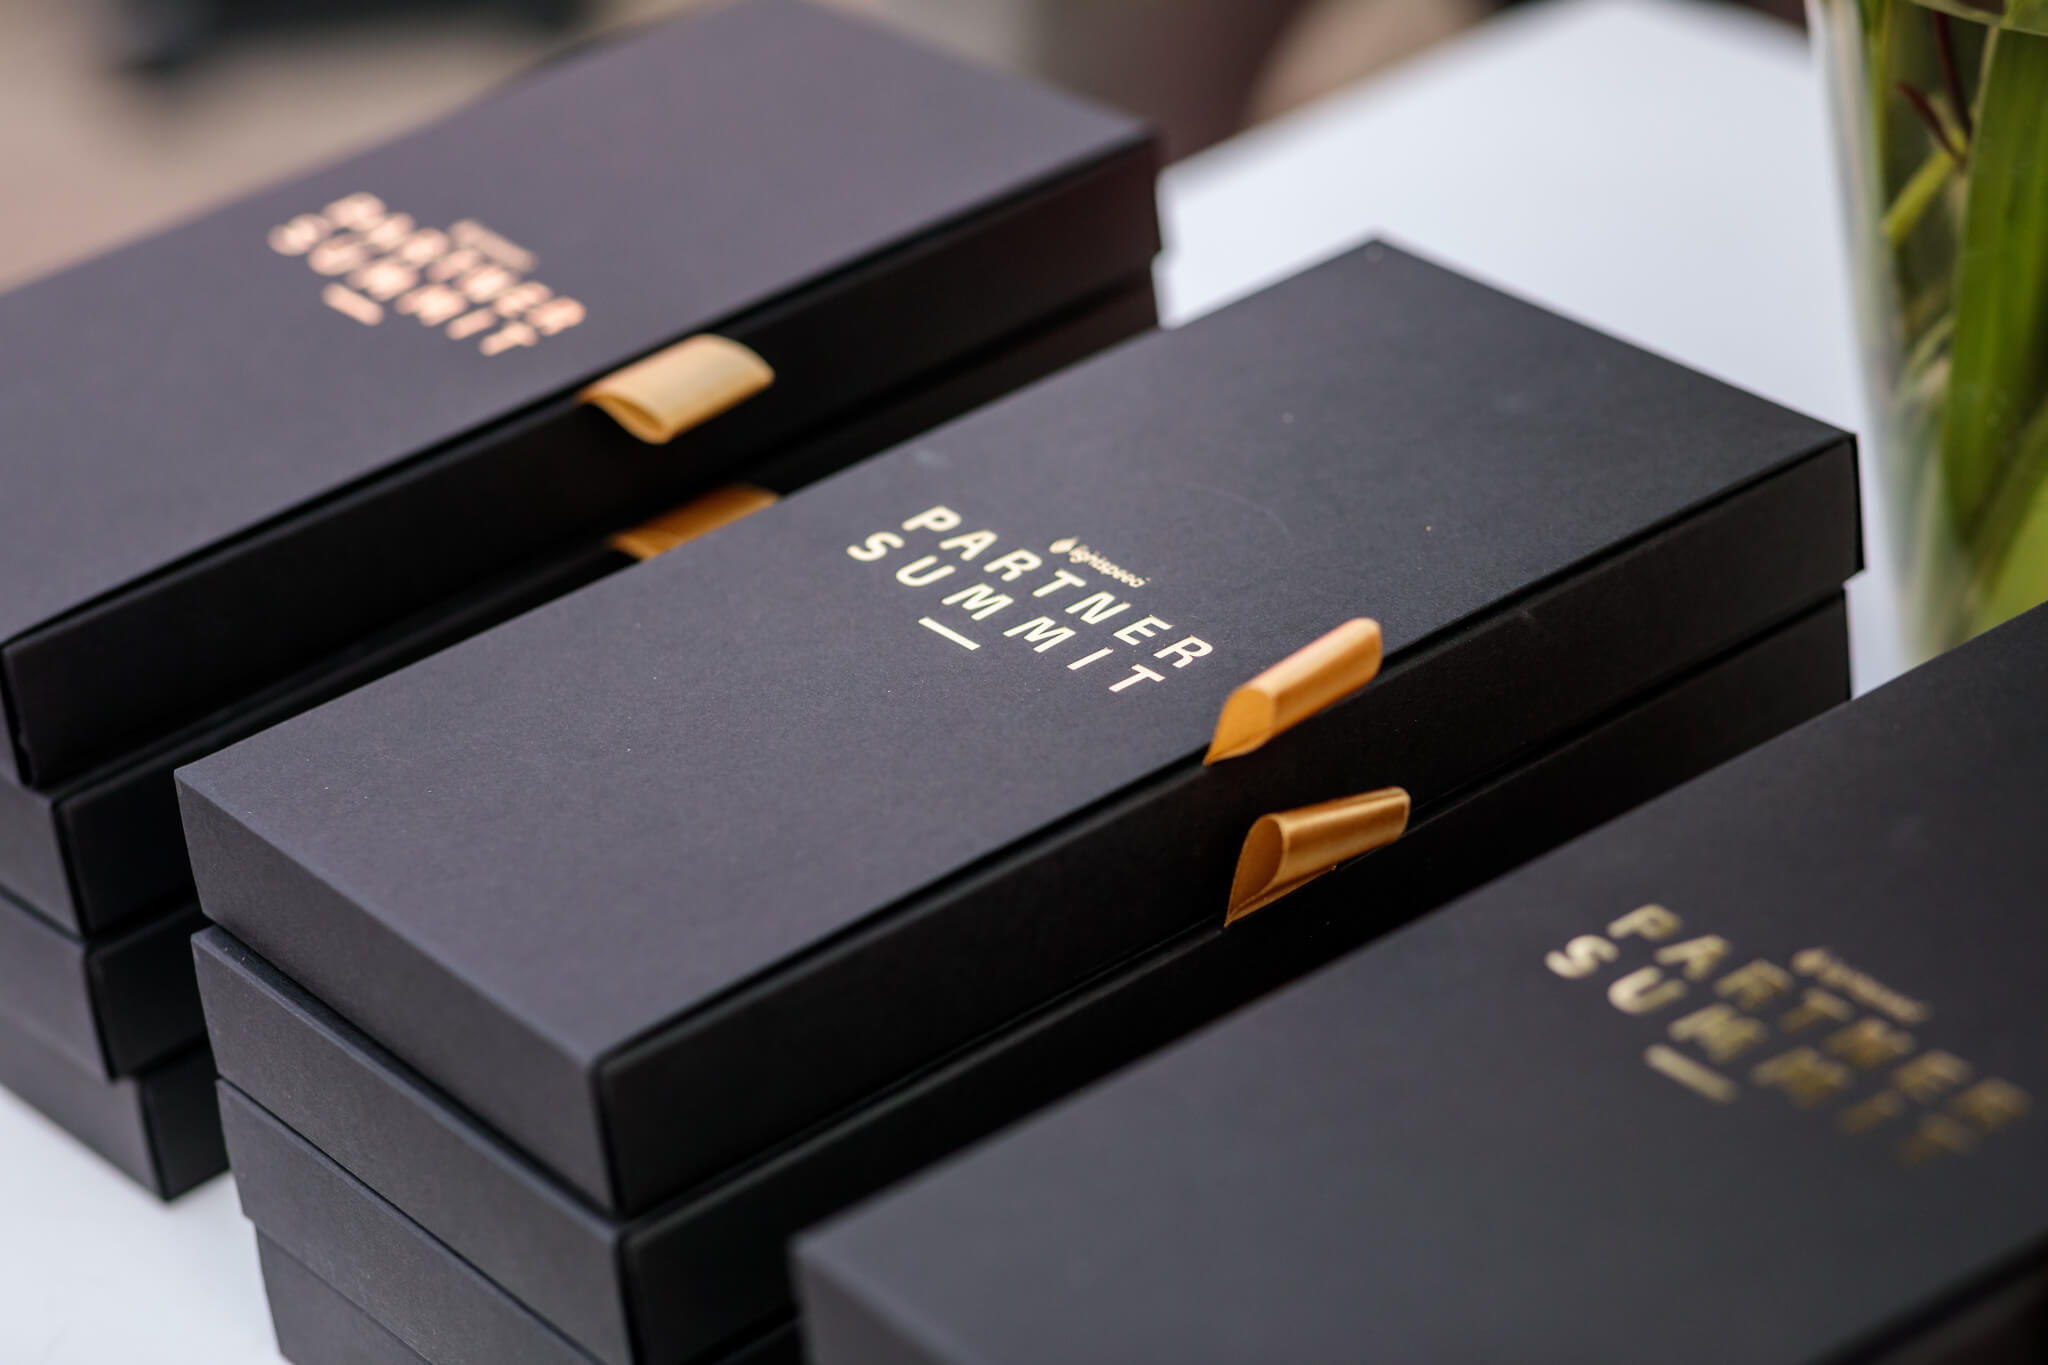
Metalised PET enables your packaging design to have a shiny, metallic-looking finish. This shiny, metallic look works fantastically with other finishing options, like debossing.
Common uses include:
- Silver glossy foil
- Gold foil
- ‘Rainbow’ foil
- Silver matt foil
- Silver mirror foil
- Various holographic foils

UV Varnish
Ultra-violent varnish applied over the top of your printed design protects the print, but can also be used in a creative manner.
The process sees the entire surface is coated with a varnish, but a UV light is applied to the designated area. There are various types of varnishes, but all add thickness and rigidity to the packaging.
UV gloss spot
UV Gloss protects against scratching, while the shiny varnish combined with a metallic layer underneath makes the design extra eyecatching.

UV matt spot
A UV matt spot is a more subtle way of adding a UV varnish to your design.

Other varnishes
There are several other varnishes that can be applied to your packaging design that are generally applied to the entire surface.
Dispersion varnish
Dispersion varnish is the most popular coating for printed material, as it protects the entire surface from scratching, scuffing, fingerprints, dust and dirt in the same way that a gloss foil does (more on the differences later).
As this varnish is water-based, it’s environmentally friendly.
Oil/offset varnish
Oil/Offset varnish is made of vegetable oil. It’s applied to the surface and dries by oxidising the compounds in the oils.
Thermal lacquer
Thermal lacquers change colour depending on the heat or cold.

Fluorescent/glow in the dark lacquer
A lacquer that’s ‘charged up’ in light and then glows in the dark.
Scratch-off varnish
A varnish that has ingredients that enable it to be scratched off in specific areas. Commonly seen in lottery tickets.

Aromatic lacquer
A layer that has a specific smell is activated when the surface is scratched.
UV varnishes can be applied to all types of:
- Product boxes
- Corrugated cardboard
- Labels & stickers (not UV varnishes)
- Rigid boxes
- Tubes
Lamination vs UV
The UV and lamination processes yield similar results. So this begs the question, ‘what’s the difference?’
There are several differences, and here are the pros and cons of both.
UV pros
- Faster than laminating
- UV Coating adds vibrancy to your design, while also staying true to the original colours.
- Tends to be a bit cheaper than lamination, since there is no need to trim or cut the laminate off the edges.
UV cons:
- If the print project is bent or folded, the UV Coating may crack. This problem is especially prevalent in a higher grammage of paper.

Lamination pros:
- Laminated pieces do not crack when bent or folded.
- Lamination offers protection against moisture and water, while also being tear-resistant.
Lamination cons:
- This process tends to involve more machinery, which may drive costs up a little higher.
Debossing & embossing
Embossing and debossing is the process of using a die to physically deform the surface of a material in a specific design to create a 3D effect.
Embossing
Embossing sees the design coming toward the viewer. A metallic die is pushed into the back of the material, making the design appear raised.

Embossing can be done on all types of:
- Product boxes
- Labels & stickers
Debossing
Debossing is the opposite of embossing, where the design appears to be stamped into the material and sinks away from the viewer.
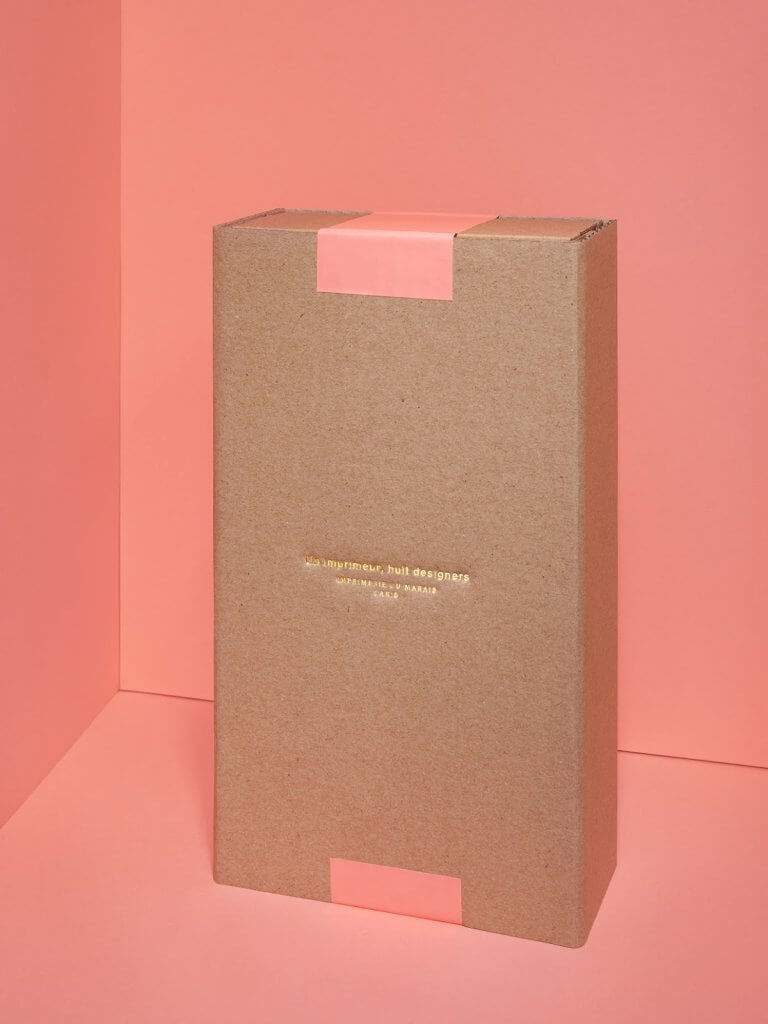
Debossing can be done on all types of:
- Product boxes
- Corrugated cardboard
- Rigid boxes
- Tubes
Learn more about debossing and embossing
Complementing debossing & embossing
Embossing and debossing, combined with other finishes, open up a wide range of eye-catching and elegant finishing options. For example, raised and lowered surfaces can have ink or foil applied to them.

It’s also worth remembering that the simple print of your design can complement embossing or debossing. For example, having your logo printing in a specific colour, then having that layer embossed.

Hot Stamping
Also called hot-printing or thermo-printing, uses dies and stamps to deboss a design into the layer, and then fill that layer with a coloured foil. This coloured foiled sticks onto the material through heat, hence the term, hot-stamping.

There are several things to remember when considering hot-stamping for your packaging design.
Not all details will come out perfectly. The foil designs should be large enough to see space between letters and other small elements.
Hot stamping doesn’t mix with other finishes. UV varnish and some other finishes cannot be used when hot stamping is used.

Hot stamping can be done on all types of:
- Product boxes
- Corrugated cardboard
- Labels & stickers
- Rigid boxes
- Tubes
Over to you
As you can see, there is a wide range of options, and there are even more when you consider the combinations that can be made.
If you’d like to take a closer look or see your packaging dream brought to fruition, reach out to the team at Packhelp and tell us more about your ideas.